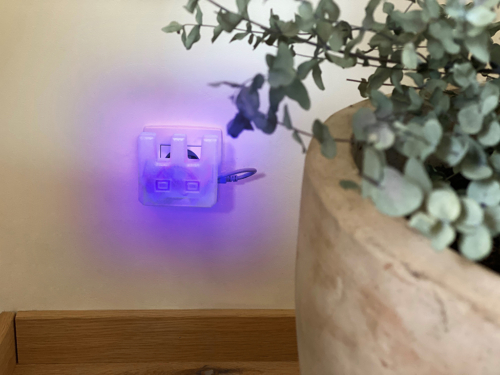
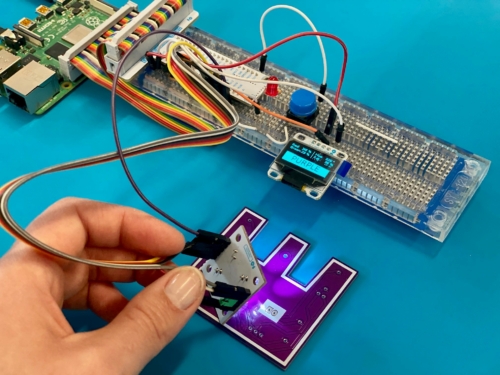
Switcheroo the printhead of your Vertex Delta 3D printer into a pen or pencil holder and let it draw the most amazing drawings, calligraphy or ‘hand’-lettering. And since it’s Valentine’s day, we made our Vertex Delta draw Boldports’ The Lady solder kit in a cool and artistic way because we just love Boldports’ designs!
Find out how you can transform your Vertex Delta below!
1. Materials
Ingredients:
- one assembled Vertex Delta
- 3 x M5x20 blots
- 12 x M5 nuts
- a pen or pencil or whatever type of writing material you like that has a firm base (a quill is not ideal, sorry …)
Tools:
- hex keys: size 2.5 and 4
2. Printing and assembling the penholder
Step 1: Print the pen holder as explained on Thingiverse. Find the .stl file here: https://www.thingiverse.com/thing:4162418


Step 2: Place an M5 nut in each slot.


Step 3: Screw the M5 bolts into place.


Step 4: Carefully remove the printhead from your Vertex Delta. Make sure that the printhead is completely cooled off!


Step 5: Remove the magnets from the printhead. As you probably know, this might get oily …


Step 6: Unscrew the magnet cupholders from the printhead too.


Step 7: Place an M5 nut in the bottom of the penholder.


Step 8: Now mount the magnet cup holder at the top of the pen holder as shown in the picture below.


Step 9: Repeat the last two steps until all cup holders are mounted and carefully place the magnets in the holders. Make sure that the magnets do not ‘snap’ too hard into place, this will damage the magnets for sure! It should now look like this.


Step 10: Put a pen or pencil in the holder as shown in the picture below and hold it in place by tightening the bolts until you can no longer move the pen in any direction. Make sure that the pen or pencil sticks out of the bottom for exactly 19mm and that the pen or pencil is more or less centered. Now carefully snap the assembly in place on your Delta. As you might have guessed, the orientation does not matter.


3. Preparing your drawing or calligraphy
Step 1: Go to https://www.marginallyclever.com/products/makelangelo-software/ and download the Makelangelo software. (Free download on the bottom).
Step 2: Go to settings and change the settings as shown in the pictures below.


Step 3: To import a picture (it can also be a picture of calligraphy of hand lettering), click on open file (supported file types: jpg/bmp/png/gif/svg/dxf). We used just a normal png file.


Step 4: You can change the infill pattern after you opened your picture, a few examples below.


Step 5: If you are satisfied with the result, save the code to an SD-card. Open the code in Notepad and place this piece of code at the top (this will initialize the calibration routine).
G29
G01 F4000 Z100;
M0 Place paper on bed…
M400
Step 6: the beginning of the code should look like the cade at the beginning of the screenshot below. If you find a line below the G90 command that starts with the command M06 (the grey line), then delete it!


Step 7: Click `save as` and change the .ngc extension to .gcode . Then save it onto your SD card.


Now put the SD-card in your Delta and start the 2D print! It will ask you to place the paper on the bed. We held it in place with soft paint tape. Good luck!


