This tutorial will explain how to measure the temperature with the DS18B20 temperature sensor and how to display its values on a 16×2 LCD display. We will use the Raspberry Pi3 model B+ and our DIY kit for Raspberry Pi including an LCD, a temperature sensor, a 50K potentiometer and a breadboard!
If this is the first time that you use a Raspberry Pi, then please follow this tutorial to set up your Pi first!
Level: super easy!
1. Material List
Ingredients:
- Raspberry Pi 3 model B+ or 4
- Connector pins
- LCD module
- a temperature sensor (DS18B20)
- 50k Ω potentiometer
- 4.7k Ω resistor
- jumper wires
- breadboard
Tools:
- soldering iron
- soldering tin
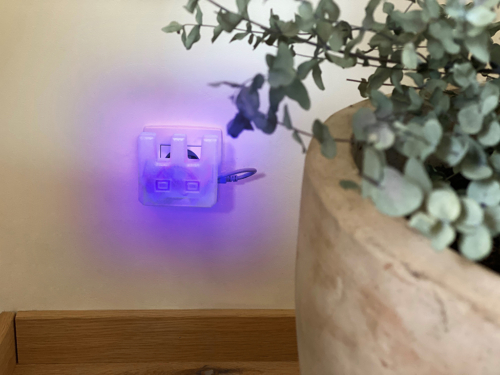
2. Analysing the temperature sensor
Technical info:

- One wire interface requires only one port pin for communication.
- The temperature sensor has three pins:
Pin1: GND (ground)
Pin2: DQ (data)
Pin3: Vdd (5v) - Measures Temperatures from -55°C to +125°C (-67°F to +257°F).
- ±0.5°C Accuracy from -10°C to +85°C.

Wiring:
The diagram below shows the connections of the temperature sensor to your Raspberry Pi.
To make things easier, we’ve added a pinout of your Raspberry Pi (from the Raspberry Pi website). This will help you to quickly connect the wires to the exact pins.
Make sure that the temperature sensor’s data pin is connected with pin GPIO4 of the Raspberry Pi. This is the default pin for the one-wire interface that we will enable later on.

WARNING!
Double-check the value of the resistor (4.7kΩ ~ 10kΩ). If it’s not correct, you will not be able to read values from the sensor.
3. Software: enabling the one-wire interface
As mentioned earlier, we will first need to enable the one-wire interface to receive data from the sensor. If the connections are made correctly, power up the Pi and follow the steps below:
A. Open the terminal (CTRL+T) and enter: sudo nano /boot/config.txt
B. This will open a file. Add this to the bottom and save with CTRL + O: dtoverlay=w1-gpio


Save the file with CRTL + O, then close the window with CTRL + X
C. To activate the changes, we have to reboot the Pi, enter: sudo reboot
D. Wait for the Pi to power up and open the terminal again, enter:
sudo modprobe w1- gpio
sudo modprobe w1-therm
E. Now we need to know the ID of our temperature sensor:
cd /sys/bus/w1/devices
ls

You should now see your unique ID, ours is: 28-000008c717b7
F. To save your ID, enter: cd 28-00000XXXXXXX (Type your OWN ID here)
G. Now test if you did everything right, enter: cat w1_slave
You should see the raw temperature output from the sensor:

4. The LCD display
Technical info:
A 16×2 characters LCD (Liquid Crystal Display) is a frequently used display in many different projects. Why? Because it is cheap and very easy to get your hands on one. Some specifications:
- Operating voltage 4.7v -5.3v.
- Current consumption is 1mA without backlight.
- Consists out of two rows and each row can print 16 characters.
- Can work on both 8-bit and 4-bit mode.
- It can also display any custom generated characters.
Pinout:

The diagram below shows the connections of the LCD display to your Raspberry Pi. To make things easier, open an image from the pinout of your Raspberry Pi (Google). This will help to quickly connect the wires to the exact pins.
Wiring:


WARNING!
When everything is connected properly, you should see white blocks on the screen as shown in the picture. If this is not the case, try turning the potentiometer in any direction until the blocks appear.

5. Software: temperature output to the LCD
Before programming, we need to install a library created by ‘GRANT’ . Download the library as a zip folder by typing “ curl https://github.com/Grant-P-W/lcd_lib ” in the terminal. Then, extract it to a location u want. Now we have to open the terminal to move the file to the correct location. Type or copy the following line into the terminal and change your_file_location into the location you extracted the folder:
/home/pi/your_file_location/lcd_lib-master/
lcdlib.py /usr/lib/python3.5
When using a different version of Python for example 2.7, replace the Python 3.5 to the version you use.
Download the code by going to the link below:
https://github.com/Velleman/Tutorials/tree/master/RPI_Temperature_LCD
Now open the Python IDLE and copy the code into it.
Then run the program, you should see the temperature output in Celsius and Fahrenheit. If something doesn’t work or you have any problems let us know!
That should be everything. Hope you found it useful and enjoyed the tutorial!